 (1)")
Want an online system that automatically generates sales & increases productivity?
With the whole world moving into the digital space, getting your business online is more important than ever.
If your daily operations have been primarily focused “in-store”, it can be very overwhelming trying to select the best tools and methods to start operating virtually. But, once you have an automated, online system in place, you can run your business more efficiently than you ever have before. In this article, I am going to give you step-by-step instructions to create an easy, online system that generates real money for your business- all in under 30 days.
Want a pre-built system for your business that is ready to go now? Check out our business automation systems.
Day 1: Determine Your Business Structure
Depending on the type of business you have will depend on what your online system looks like. Now while there are many types of business out there, we have narrowed them down into just 4 main types of businesses:
• Virtual Store
• Virtual Meetings
• Virtual Classes
• Virtual Support
Want to know which category your business falls into? Let’s break these down a bit.
Virtual Store.
This is any business who sells products. Some examples include restaurants, gift shops, clothing stores, florists, bakeries, etc. Additionally, this can be applied to anyone selling an online resource (Ex: course creator)
These types of businesses often rely heavily on foot traffic and a lot of them have never sold online before. However, selling online can be a huge opportunity to keep business coming in- even when your doors are closed.
Virtual Meetings.
This is any business who offers advice and consulting services to their clients. Some examples include financial advisors, therapists, fitness coaches, accountants, lawyers, etc.
These types of businesses often form deep connections and trust with their clients. Therefore, having a good online system to keep in contact and still meet “face-to-face” is very important to continue operations.
Virtual Classes
This is any business who holds classes or trainings for their clientele. Some examples include gyms, yoga studios, karate studios, dance studios, music instructors, paint night venues, etc.
These types of businesses often rely on entertainment or self-improvement philosophies to keep people engaged and excited to join them. Utilizing high-energy online classes can keep business operating as usual- just in a virtual setting.
Virtual Support
This is any business who offers on-site services to customers. Some examples include dentists, chiropractors, massage therapists, spas, plumbers, electricians, handymen, etc.
These types of businesses often interact face-to-face with their customers and need to be “hands-on” to complete their tasks. While this can be one of the most difficult industries to be in when your office is closed, there are still ways of continuing to offer your services. Offering virtual support as much as possible during the process can limit contact, decrease risk and give your customers the peace of mind they need.
What To Do
Once you have determined the type of business that your company falls into, write it down and start brainstorming how you can get as many of your customer interaction aspects as possible online.
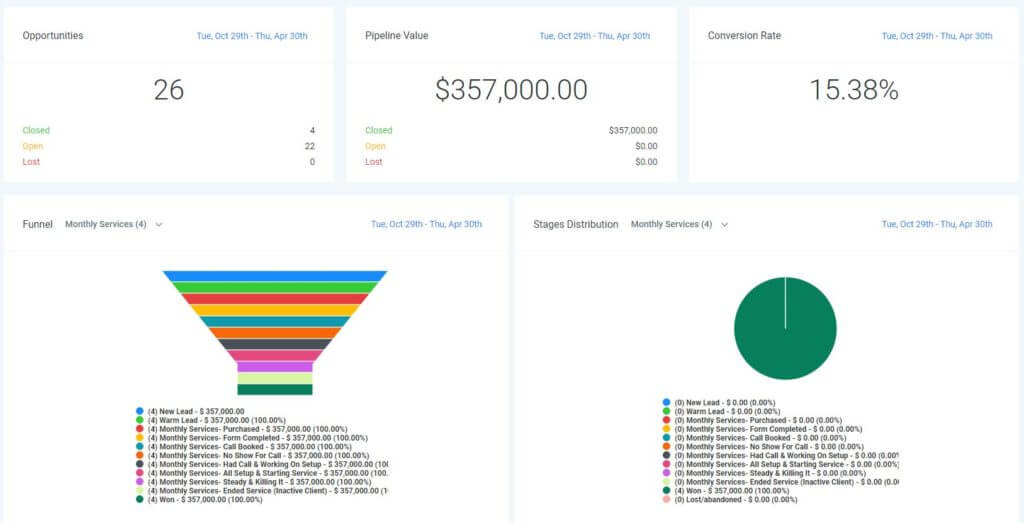
Days 2-5: Build Your CRM Pipeline
Now for the fun part- your CRM pipeline. If you have never heard of a CRM before, it will blow your mind! CRM stands for your Customer Relationship Management system. In short, utilizing a CRM allows you to keep your team on the same page about leads/clients/orders and ensure that nothing falls through the cracks. You can do this by dragging and dropping cards throughout different stages as they progress.
Besides the pipeline feature, a CRM will let you do awesome things like keep all of your documents together, integrate your calendars and send emails right from the platform. However, for now let’s focus on your pipeline. Your CRM pipeline will serve as the base of your system where everything will be connected. Now there are two things you need to do to create one.
Choose your software.
Now here at Disrupt Ordinary, we offer an awesome business automation software that gives you access to a CRM, funnel builder, email & sms campaigns and way more all under the same platform. So, needless to say- we highly recommend it. If you want to check it out, just click here. If not, you can do this step with any other CRM system on the web. Some other options we would recommend are Hubspot and Salesforce.
Map out your pipeline.
Once you have selected the software you are using, you will want to go to your “pipeline” view. This will be an area where you can easily create columns and individual cards within those columns. The columns of your pipeline are meant to track the different stages of your sales cycle. So, these should be customized entirely for your business.
Now when creating your CRM pipeline, you will want to first decide where that pipeline starts.
- Are you going to start it all the way at the beginning of the sales process with “Cold Lead”?
- Are you going to start it once someone takes an action with something like “Filled In Form”?
- Or, are you going to start it once someone becomes a client with something like “Purchased Service”?
Down the road, you can even create multiple pipelines (Say one for leads and one for customers). But for now, to get you up and running quickly, let’s focusing on making one great pipeline.
If you need a little inspiration, let’s talk about a few examples….
If I was a restaurant, maybe my pipeline would look something like this:
Placed Order > Cooks Creating Order > Order Is Ready > Order Out For Delivery > Order Complete
If I was a financial advisor, maybe my pipeline would look something like this:
Booked Strategy Call > Had Strategy Call > Generated Quote > Had Quote Call > Sent Paperwork > Received Paperwork > Closed Deal
And if I was a gym, maybe my pipeline would look something like this:
Attended Free Class > Purchased monthly membership > Received onboarding email > Joined Community Facebook Group
So ask yourself- what steps do you want to include in your pipeline. Then, spend the next few days creating it in your CRM system.
Want it built out for you? Click here.
Days 6-10: Build Your Sales Page

After your pipeline base is created, it is time to set up each element starting with your sales page.
The majority of pipelines will start with a prospect taking an action on a sales page (Ex: Booked a call, filled out a form, purchased a product, etc.)
So, the goal here is to create a sales page and hook it up to your pipeline. That way, any contact that takes the desired action on your page will automatically get added to your CRM system.
Now while you can input contacts into your pipeline manually, it is SIGNIFICANTLY easier and more efficient to set this up properly so automation can take care of everything for you.
To get started, you need to create the sales page. To do that, follow these steps:
Choose a software.
Back to the tech end of things. If you decided to use our business automation software, then you already have a funnel builder within that software where you can create this page. If you do not, you will need to utilize a different software. Some examples for landing page software are Leadpages, Clickfunnels or WordPress.
Get clarity on your offer.
Once you have chosen a software, you need to get clarity on your offer. So ask yourself- what is the most important thing that I want to sell? If you are in the services industry, this can be easier because your offer likely starts with something like a “free consultation”. However, if you sell products it is a bit more complicated. You will either have to choose your most important products (5 or less) to incorporate on your page or if you want to include every product, you would be best creating a full eCommerce website. For more information on that, click here.
Design & Write.
Now after you are clear on what you are offering, you will go ahead and build out your page. Your content should be short, sweet and STRICTLY focused on your core offer. Ensure that you do not include information on every single thing that you do and instead focus on showing them why they really need this ONE thing. Additionally, ensure to include nice graphics/images and make 100% sure that your page looks great on every device.
Once you have your page ready to go, go ahead and move onto the next step.
Day 11-15: Create Your Calendar, Form or Store.
In days 11-15 you should be focusing on the next action your prospect will take. So, if they go to your landing page and want what you are offering, what do they do next? The majority of the time, they will book a call, purchase a product or fill in a form (to request information, access a training or download a resource). Depending on which one of these actions you want your prospect to take will depend on what you set up.
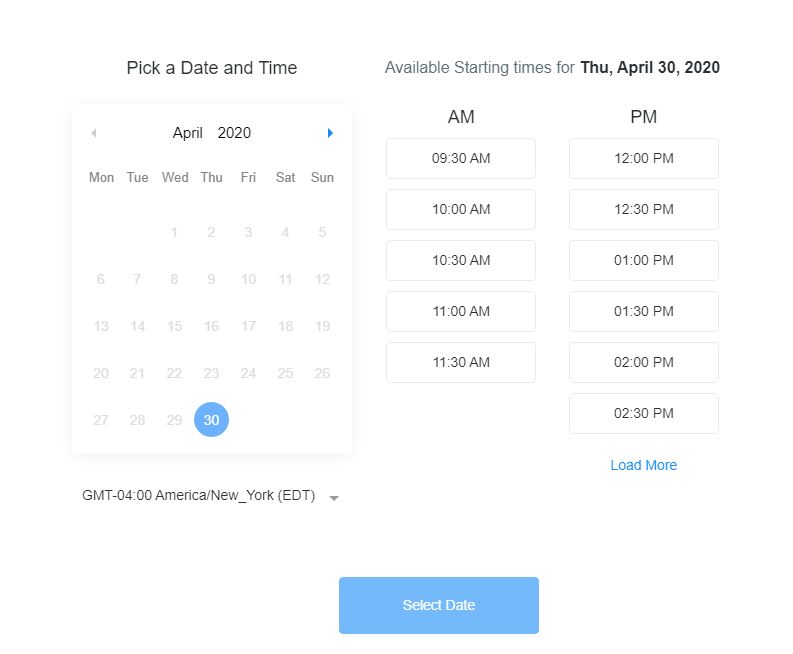
Book A Call
When you want your prospect to book a call with you directly, you need to set up a call scheduler. This is a software that integrates with your calendar. That way, a prospect can go on your landing page, see when you are available, choose the best time, answer some questions and book their call. This will then show up in your calendar to alert you that you have a call booked at a specific time.
Now if you have our business automation software, call scheduling software is already included in the system. If not, some other options are Calendly and Acuity Scheduling.
Once you decide on your software, you will setup your calendar, add any questions you want to include and then embed the calendar on your landing page.
Additionally, some other features you may want to set up would be a “thank you” page that they go to after booking and/or a payment processor (Like Stripe) so you can collect payments for any calls booked. (Which we have included in our business automation software 😊)
After you have these elements set up on your landing page, you can move onto the next step.
Purchase A Product
When you want a prospect to purchase a certain product on your landing page, you will have to set up a payment form and payment processor.
A payment form will be something that is included in your landing page builder. Here you can ask them for important details like their name, address, etc. A payment processor is a software that will let you collect payments in a secure way. The two most common payment processors are Stripe and Paypal. You can then integrate these with your page so that you will be able to collect their information and make the sale.
Additionally, you may want to consider creating a thank-you page to give them confirmation of their purchase. Again, if you want more advanced functionality like “add to cart” and “checkout”, you should consider creating an eCommerce website instead.
Now once this is all set up, you can move onto the next step.
Fill In A Form
Finally, when you want a prospect to fill out a form, you will need to create….well a form! The good news is that this is the easiest out of all of the options. Most landing page builders will allow you to create a form right on the page and set up email notifications so that you know when someone fills it out.
Additionally, depending on what they are filling out a form for will depend on what else you should create. If they are asking for more information, a simple “thank-you” page telling them that you will be in touch will suffice. If they are downloading a resource or viewing a training, you will need to have those elements included on your thank-you page so they can access them.
Once you have this all set up, you can move onto the next step.
Day 16-20: Build A Text/Email Sequence
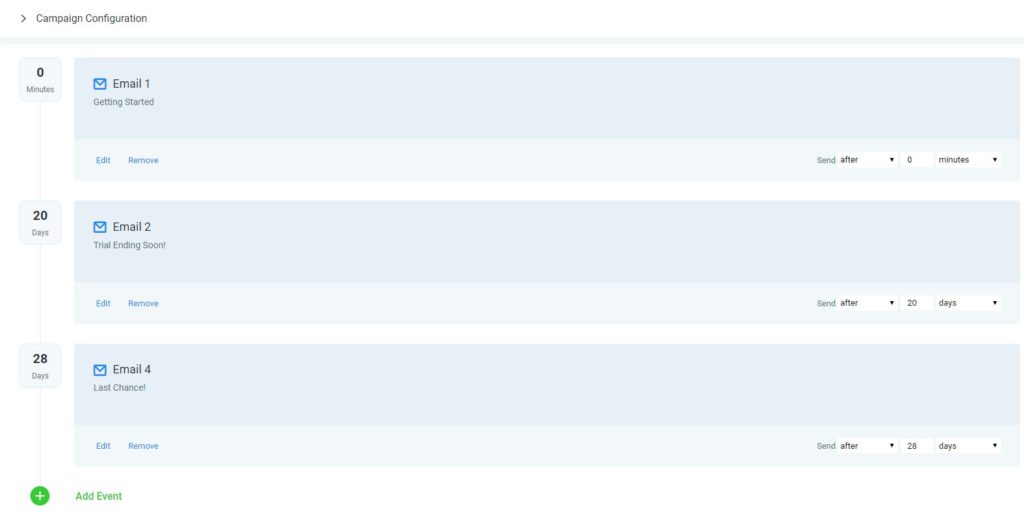
Now in days 16-20, you will create at least one email and/or text messaging sequence. This is an element that a lot of small business owners overlook but it can make such a big impact. Once someone takes an action on your landing page, they are as “hot” of a lead as they have ever been. In other words, now is the time to lock them in.
So what does “locking them in” look like?
Well, again it depends on your main goals and what is most important to you.
If your lead filled out a form or booked a call, maybe you want to send them an email sequence reminding them about their appointment.
If your lead has already purchased from you, maybe you want to create an email or texting sequence that tells them the status of their order. For example, if you are a restaurant, you could send them a text saying that you have received their order and it should be ready within 45 minutes.
Now, the more comfortable you get with creating these type of sequences, the more automation starts to feel like MAGIC.
You can create multiple sequences that get triggered when you move someone throughout your CRM pipeline. So, if I am that restaurant and the order is ready, I can move that contact over in my pipeline to “Order Is Ready” and that could trigger them getting a text message that says “Hey, your order is ready. To pick it up, please pull out front and call us at (555) 555-5555”.
So as you can see, there are a TON of possibilities here and they all need to be adjusted for your specific business.
To get started, you will have to decide what type of sequences you want to create.
Then, (yet again) you will choose a software. And (yet again) if you are using our business automation software, email and text message campaigns are all INCLUDED in the platform. But, if you want a different option, you can look into these email marketing softwares: Mailchimp or Constant Contact.
Once you have the software, you will want to go and create your sequences. Remember to keep them short, simple and informative!
Then, move onto the next step.
Day 21-25: Connect Everything & Test
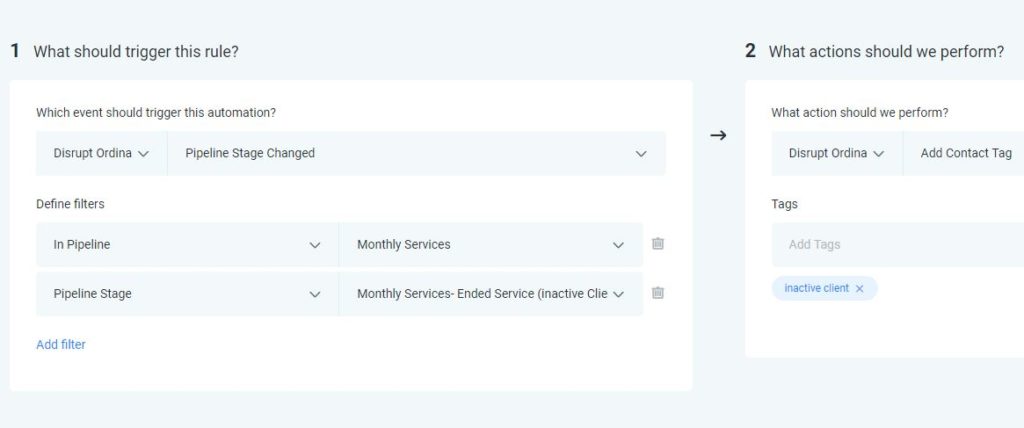
At this point, you have created all of the main elements of your online system so congrats! Now on days 21-25, you will connect everything together and test it out.
If you are using our software, everything is under one roof. Therefore, when they fill out a form, it automatically feeds into your CRM system. Now if you are using a handful of other softwares, you will have to connect them together. To do that, you will start at the CRM pipeline. Most other CRM systems will have integrations with other top softwares. If they do, you can just connect them directly. If they do not have a direct integration with the software you are using, I would recommend looking into Zapier which may help you connect everything.
Now when setting this up, you want to make sure you get it right so everything works properly.
Let’s take a plumber Joe’s pipeline as an example of what this could look like.
The pipeline is as followed:
Requested Info > Had Call & Gave Quote > Performed Service > Paid & Complete
Here is how it works:
- A prospect goes to the landing page Plumber Joe created advertising 10% off plumbing
- The prospect fills in the form to get more information
- The form integrates with the CRM so the prospects information gets automatically added as a card under the “Requested Info” column
- The form is integrated with an email sequence so once it is filled out, the prospect receives an email saying “We have received your information and will call you shortly!”
- The form is setup to send Plumber Joe an email telling him to call the prospect
- Plumber Joe calls the prospect, learns more about their issue and gives them a quote and sets up a date to come to their home
- Plumber Joe drags the prospect into the “Had Call & Gave Quote” column.
- This column is integrated with a text sequence so once the prospect is moved there, they get a text message saying “Hey! It was nice talking to you today. I will see you on August 20th at 2:00PM!”
- Plumber Joe goes to the house at the correct time and fixes the issue.
- Plumber Joe drags the prospect card into the “Performed Service” column.
- This column is integrated with an email campaign so once the prospect is moved there, they get an email saying “Hi! I hope you were happy with your service today. We were there for 3 hours which brings your final quote to a total of $350. Please send a check to 123 Main Street, Town at your earliest convenience”.
- The prospect gets the email and sends the check.
- Plumber Joe receives it and moves the prospect to the “Paid & Complete” column so he knows he is done with that project.
Now this can be tweaked in many different ways. If Plumber Joe is using an online payment system, maybe he would include a link to that instead of asking for a check. Or is Plumber Joe had a set price for his service, maybe he would include a call scheduler and payment processor in the beginning of the funnel.
But as you can see, this can be adapted to fit almost any business and can increase your productivity and ROI drastically.
Now, once everything is connected together, ensure that you go in and test it on yourself or a friend to make sure everything is working!
Day 26-30: Set Live & Promote
Finally, in your last few days, you will want to set everything live (make sure nothing is in draft) and then promote it! Get your offer out there to as many people as possible and start bringing in more sales!
Once you have a reliable online system that you know works, you will feel 100 times more confident in asking people to take you up on what you’re offering.
And friends (one last time for the people in the back) if you need help creating this whole system for your business, check out our done-for-you business automation systems here.
Now get automating, get selling and have a great day!

SHARE ON:
0
Comments
Leave a comment
0
Comments
Leave a comment